
In this blog post I’m going to share with you my killer recipe for a final plaster that I have used and evolved over the last eight years. The final layer is what you will see day to day, so it’s worth making it nice. If you’re interested in a recipe that is non-toxic, made from easy to find natural materials and has a beautiful finish then read on.
I first got a recipe from my talented friend Taiga Marthens who I taught a course with at Panya in 2010. She is a talented artist and designer who shared her recipe with me. Over the years I have experimented with it and tweaked it to the point where I am super happy with it. It's wonderful to work with and the finish is beautiful.
Here is the recipe
2 parts horse manure (or chopped straw)
2.5 Earth mix (Screened so its fine with no stones)
1 Part water premixed with at least 25% Nopal cactus juice.
STEP 1. Harvest Nopal cactus (Chumberia in Spanish) paddles, a cactus that is actually edible. When you have harvested the paddles, the next step is to cut them small and then smash them with a lump or sledge hammer. I use a large metal or flexible plastic bucket to do this. Then mix it 50 50 with water and let it sit for two days (up to six days is fine).

 |  |  |
STEP 2. Harvest the juice. The best way I have found to do this is by making a strainer. I do this by drilling lots of holes in an old plastic bucket and pouring the smashed Nopal into it. It takes about half an hour for the juice to slowly filter out. The result is a super slimy juice that has a consistency similar to the egg white.
STEP 3. The next step is to screen your earth mix to remove small stones and large particles. Always remove the top soil, as this is something valuable and takes time to create. Making compost is another kettle of fish. You want your subsoil to have a clay content between 15 - 30 % the rest will be sand and some silt.
You can work out you proportions more or less by doing some simple soil samples and mixing them with water. Stones will settle first then sand, clay, silt and organic matter. If you have too much clay it will crack. If you have too little there won’t be enough to coat the sand and let the mix "go off" and stick to the wall.
You can work out you proportions more or less by doing some simple soil samples and mixing them with water. Stones will settle first then sand, clay, silt and organic matter. If you have too much clay it will crack. If you have too little there won’t be enough to coat the sand and let the mix "go off" and stick to the wall.

STEP 4. So you have your Nopal cactus juice and screened earth. The next step is to acquire several buckets of fresh horse manure. This adds fiber to the mix, horses eat a lot of hay and or grass - right. If you can't get this or don't fancy it, you can use straw that has been through a chipper or shredder which gives you straw that is 10 - 15 mm long. If you go the chopped straw route mix everything and let sit for a week. During this time the straw becomes soft and flexible and starts to ferment, releasing glucose, which gives the mix a nice workability.

| STEP 5. When you have all your elements, it is time to mix them. This can either be done thoroughly by hand on using a mixer, make sure all the horse manure is broken down well.  |  |
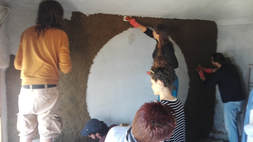
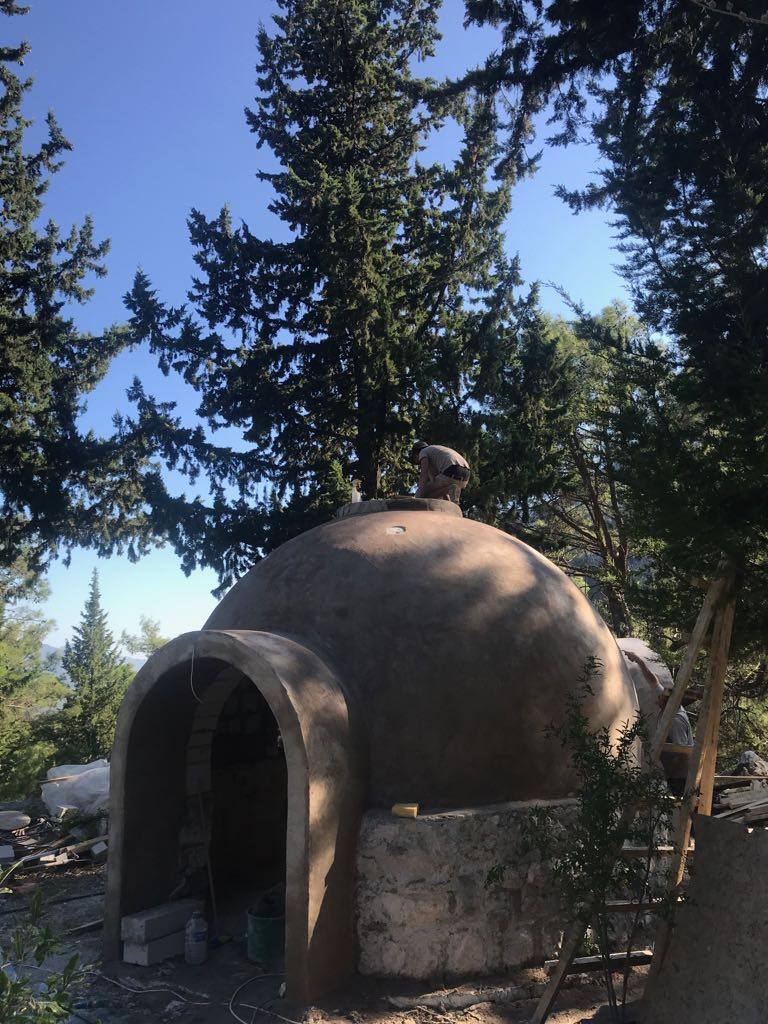
STEP 6. Then you are ready to apply your mix to you scratch coat. The scratch coat is a base plaster that is applied on top of your adobe or super adobe wall, giving a reasonable level surface. It is normally scratched to give a good surface to adhere your final plaster. You can use you hands with or without rubber gloves or a trowel to apply the final plaster.

| STEP 7. Then you want to use a flexible plastic trowel or Japanese trowel to work the surface and give it a nice uniform finish (The budget version is to use old shampoo or yogurt pots cut into strips). The idea is to work the clay to the surface and push the sand down, you can spray a fine mist of water if needed. The fished result is a nice uniform plaster. You can use different colour clays depending on the tone you are going for. This mix could be used on any wall, it does not have to be necessarily an earth wall. That's it! Let me know on facebook if you try this plaster or if you have any questions. |  |
Cheers!
Matt Prosser 31.05.2018
Matt Prosser 31.05.2018


